If you are like me, you prefer flour tortillas over corn. There’s just something about the soft floury wrap that I really dig. But store-bought tortillas have so much salt that you think it is off your menu forever. Here’s where these delicious low sodium flour tortillas come into play. In fact, they aren’t just low sodium they are no salt added!
There’s nothing wrong with corn tortillas. In fact, using corn tortillas is a great “LoSo Swap” when preparing low sodium Mexican meals. La Banderita White Corn Tortillas clock in at only 10 mg of sodium per tortilla. While 8” flour tortillas of the same brand have 220 mg of sodium per tortilla. But for my palate, I don’t like the texture of a corn tortilla. I much prefer this no salt added flour tortilla.
But given the need to be low sodium, I – wrongly! – assumed that flour tortillas would rarely be on my dinner table. So, I was pumped to learn that it is super easy to make your own flour tortillas! Not only are they lower in sodium, but you can’t be the fresh taste. These homemade flour tortillas are tender, soft, and flavorful.
I will purposely make multiple batches and freeze them for later. Yes, you can freeze flour tortillas. Just make sure you keep them separated by placing a layer of parchment paper between the tortillas.
To thaw the tortillas, take them from the freezer and put them in the refrigerator for eight hours – preferably overnight. Once thawed, you can warm in a low-heat stovetop, or in the microwave using 20-second bursts until warmed.
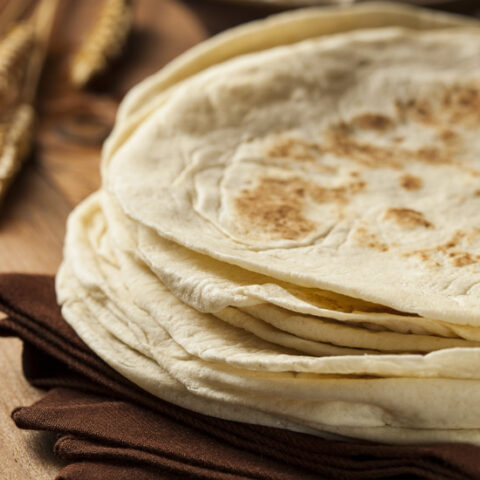
No Sodium Flour Tortillas
Delicious homemade flour tortillas with no salt added.
Ingredients
- 2 cups of all-purpose flour
- 1/4 cup olive oil (you’ll want to use a light flavor)
- 3/4 cup warm water
Instructions
- Combine ingredients in a bowl and stir together. Ultimately you will need to mix with your hands to ensure everything is fully incorporated. You don’t want to see any specs of olive oil in your dough.
- Knead your dough for about 10-15 minutes or until it is elastic enough to stretch without breaking.
- Let dough rest for about 15 minutes to allow the gluten in the flour to relax which helps the tortilla to bubble while cooking. I put a damp paper towel over the dough to prevent it from drying out.
- Tear apart your large dough ball into 12 equal size dough balls (a few less if you want larger tortillas).
- Roll your dough balls into thin flat circles of equal size. Tip: if you roll the dough into a ball first, you are more likely to have a circular tortilla!
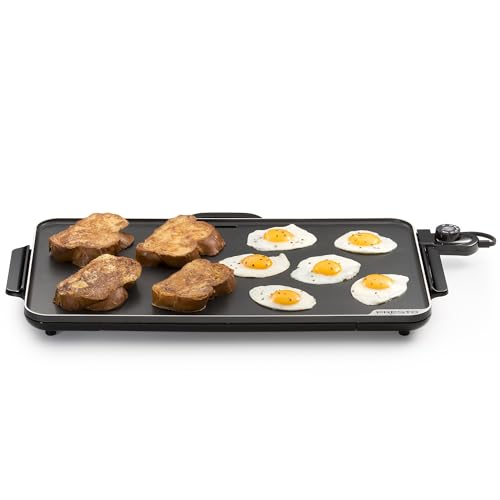
- Place on hot griddle and cook for about 40 seconds, or until you get those nice classic air bubbles. Flip the tortilla and cook for an additional 20-30 seconds. The exact time will depend on the thickness of your tortilla.
Notes
- You will want your tortillas to be uniform in size and thickness. I use a rolling pin with “training wheels” which ensures that all of my tortillas are uniform in thickness!
Recommended Products
As an Amazon Associate, I earn from qualifying purchases. For complete information please read the disclosures page (link at the bottom of this page).

Nutrition Information
Yield 12 Serving Size 1 Amount Per Serving Calories 116Total Fat 5gSaturated Fat 1gTrans Fat 0gUnsaturated Fat 4gCholesterol 0mgSodium 1mgCarbohydrates 16gFiber 1gSugar 0gProtein 2gNutritional information is provided as an estimate. Nutritional content may vary due to several factors such as how much of an ingredient is used vs. how much will actually be eaten, brand differences, and more. To ensure the most accurate nutritional information, the reader should make calculations based on the ingredients actually used, using their own preferred method, or consulting with a licensed nutritional expert. This Website is not intended as a source of nutritional or food safety advice, and its readers assume full responsibility for any decisions made regarding their own health and safety. Nutritional information calculated by Nutritionix
Thank you so much for this recipe. I made the dough/tortillas today and had fun. They didn’t come out all in circles but I’ll get better with practice.
That’s awesome Neil. Fun is always better than form. My first ones weren’t perfect circles either.
Thank you so much! I had open heart surgery in 2018 and I can rarely find the tortilla brand that only has 20mg of sodium and these are way better! Thanks so much!
Hi Kaitlin,
You are welcome! I’m glad you like the tortillas. I wish you nothing but good health!
I have made several batches of these already. Thank you so much for the recipe. Definitely helps keep the daily sodium levels to the low standard.
I did have a question. Do these need to be refrigerated? I have been doing so just to be on the safe side.
Hi Cass,
I’m happy to hear you are enjoying the recipe. I struggle with the refrigeration part. There is no dairy in here so technically I don’t think you need to refrigerate. However, there is no preservative in these tortillas so the shelf life is going to be shorter than a store-bought one. I refrigerate mine too. But I think the main benefit of doing that is a slightly longer shelf life.
Can these be frozen
Hi Danielle,
Yes you can! I found this article that gives you step-by-step instructions: https://www.thepioneerwoman.com/food-cooking/cooking-tips-tutorials/a37081944/can-you-freeze-tortillas/
I have arthritis in my hands, can I use a dough hook, and if yes, how long and what speed. I have a kitchenaid. Thank you.
I have never used a dough hook, but it is definitely worth a try!
I use my dough hook for 10 minutes.
That’s a great idea Wanda! Thanks for sharing.
Can you use a tortilla press. I’m new at this.
I just recently discovered tortilla presses. It does help you make uniform tortillas in shape and thickness. Game changer!
Hi, this sounds like exactly what I need but it says “hot griddle” – how hot should it be? Medium? Medium-high? Or highest strength/hottest? I’m guessing 40 seconds on the latter would burn it so not sure how hot to start from. Thanks!
Hi JW,
I would suggest medium to medium-high. You do need a hot griddle but since medium-high isn’t the same for everyone, might as well start at medium and work up. Can always add more heat but you can’t fix a burnt tortilla because I agree with you that the hottest setting would scorch the tortillas.
So happy to be able to make low salt, flour tortillas, thank you so much for sharing!
Still working on attaining anything resembling a round shape, will try the press. My question is temperature to cook. I use a cast iron skillet on a stove top. Medium is about 535 degrees F. Any suggestions using stove top cast iron?
I’m happy to share Tom! I hear you on attaining a round shape. It takes a bit of practice, but no matter how they look…they taste good! I wish I could help you, but I have never made these in a cast iron skillet. My best suggestion would be to lower the temp. They might take a bit longer to cook, but better to cook them low and slow than to risk scorching them.
Thanks!
As far as the cast iron on the stove top, have found the set spot between 440 to 450°F.
Thank you again for sharing your expertise and experience!
Great tip Tom. Thank you for sharing that!
I tried making these but the gluten would never settle down and they would not stretch out without retracting. I waited the allotted time, then longer. Then a few hours later I gave up and threw out the dough. Any idea what I did wrong?
Hi Julie,
Hmmm. I haven’t encountered that problem. My guess would be to add a bit more flour. Just add a small amount at a time until the stickiness subsides and you can work the dough. Wish I had a more technical answer for you.
From what I understand, the longer you knead flour and water, the more gluten develops. So maybe try kneading less in the initial mix? Less handling in general? I’m no pro, just a hobbyist, but that is where I would start
You make a great point Sam. Thanks for sharing!
Hi Mike! I definitely am trying these, but was wondering if you have ever made with whole wheat or white whole wheat flour?
Hi Kate,
I have not tried with whole wheat flour. But in doing some research for a separate recipe, I discovered that whole wheat flour is very dense, should not be used as a 1:1 substitute. It is suggested to use half whole wheat flour and half regular flour. Again, I have no experience in doing this myself but multiple sources reccomend that 50/50 split. Hope that helps!
Made these last night and had breakfast burritos this morning. So good! I’ve been missing tortillas! Will be a staple now, thanks for sharing the tip on freezing too. I definitely plan to make a bunch and freeze to have on hand!